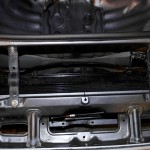
Replacing your old radiator with a new unit:
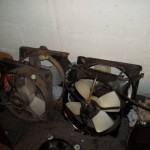
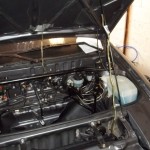
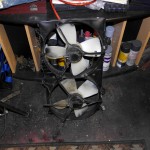
PART 1: While cleaning up the bolt holes on my old radiator (due to snapped bolts), I accidentally punctured the radiator core. This forced me to replace the radiator completely as the hole could not be repaired, but it was a good idea anyway since the radiator was 25 years old. I purchased an OEM replacement style from amazon. The new radiator was the same size, and had the proper mounting holes and coolant in/out connections. I cleaned up the top-mount bars and replaced the cooling fans with units purchased from a local MR2 enthusiast. My old fans were rusted beyond repair. After everything was connected up and the coolant was topped up, no leaks were detected. However. Since the cooling system is so complex, see coolant flush page, you need to bleed the system of air. The air bleeder valve mechanism on the new radiator was completely inappropriate for this procedure. As soon as you open the air bleeder, coolant leaks out. To fix this issue, since I needed to bleed the system, I had to slather the air bleeder connection with silicone sealant, and use plumbers tape on the bleeder plug. Not very nice.
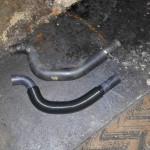
PART 2 (update!): I was unsatisfied with the replacement radiator I had purchased. So I decided to (again) replace the radiator. This time I went for a higher quality Nissens radiator from England. I also figured that I might as well replace the radiator hoses while I’m at it. I purchased the upper rad hose from Toyota (Part num: 16574-16020), however the lower rad hose is no longer produced or even stocked by Toyota (16575-16020). Just my luck! So instead I purchased an aftermarket rad hose from ACDelco or Gates. These hoses are unfortunately not exactly the same dimensions, they are a little short, and instead of a nice foam rubber outer shell, they have a crummy hard plastic ribbed protector.
The new radiator arrived, and I opened the box to discover that the design of the breather and drain was exactly the same! It appears that all radiator manufacturers get the end-tanks from the same supplier, so they are all identical (however, the fin portion of the radiator was of much higher quality). So, I still had this problem of a poor design for the screw-plugs. I needed to solve it another way.
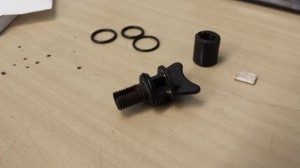
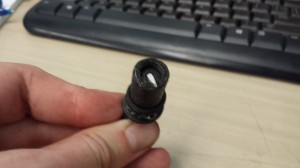
The problem is that the screw-plugs that are used do not have an o-ring around their circumference, so coolant is able to leak past them when draining or bleeding the system. I was initially going to try and 3-D print a new screw-plug, but I figured that the PLA plastic used would not hold up to 80 deg coolant temps. So I needed to modify the original hard-plastic units. I got the idea to try and machine out a groove for an o-ring. To hold the piece in the drill-press without damaging the threads, I 3-D printed a shroud that covered the threads and the chuck could hold securely (the shroud was prevented from unscrewing by a white plastic key). I installed the whole assembly in the drill press and used a carbide bit, similar to that used for lathes, to carefully machine a groove. A bit of hand-sanding was needed to finish up the job, but the end result was a nice groove which an o-ring could sit in nicely and provide a secure seal. The difference between the old (right) and new (left) can be clearly seen.
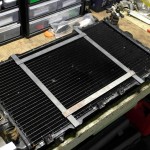
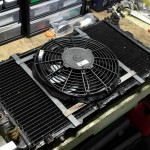
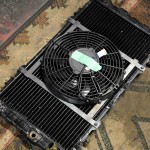
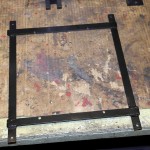
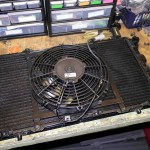
The last upgrade I decided to perform was to change from the old rad fans to a new SPAL high-efficiency unit. As you can see, fan design has improved in the last 26 years. The new unit is a much lower profile, and has a more efficient blade design (the old unit looks like boat propellers). A custom rad mount was designed uses some stock steel and welded up.


